
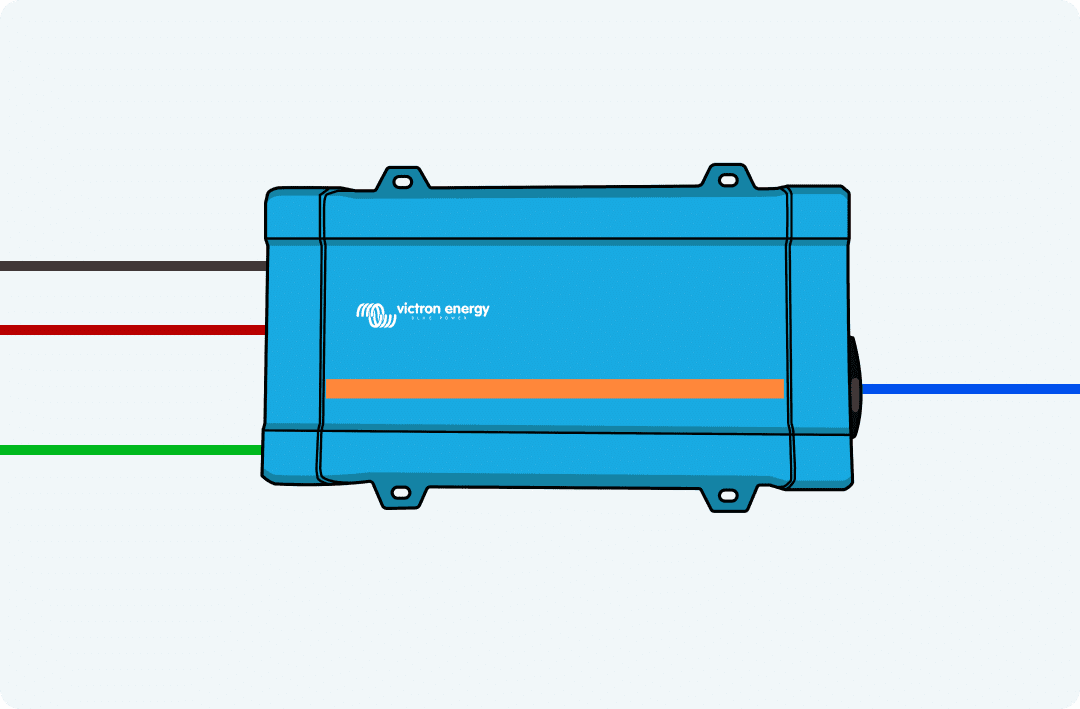
A campervan inverter wiring diagram shows how to connect the inverter to your van’s 12V battery system and consumer unit so you can safely run 230V AC appliances off-grid. If you are building your own campervan electrical system in the UK or EU, this guide walks you through the wiring process for a Victron Phoenix inverter step by step. Unfortunately, wiring a campervan inverter can be difficult, so this article keeps it clear and practical.
An inverter converts your 12V DC battery power into 230V AC for household appliances. Your wider campervan electrical system also includes batteries, loads, and charge sources. This process is the same whether you need 60W for a laptop charger or enough power for a microwave or hair dryer, and pure sine wave inverters produce smooth AC power that is the safer choice for sensitive electronics. Modified sine wave inverters can damage sensitive electronics or cause buzzing in audio equipment, while pure sine wave models usually cost more. If you are unsure what size inverter you need, read our blog on
This is a common step in any van conversion that needs mains-style appliances, and getting the wiring right is essential for safe, reliable off-grid power. We’ll show you what parts you need, how to wire the inverter input to the battery system, how to wire the output to the consumer unit, and what to check before switching it on.
In this example, we will show you how to install a 375W Victron Phenix Inverter. Most inverters will follow the same process, but always check the user manual for the same wire and fuse sizes required for installation.
We also recommend that a professional check all installations at a minimum.
Safety Warning
Working with 240V electricity is dangerous and can kill. We always recommend getting a professional to carry out and sign off the electrical installation before use.
What You'll Need
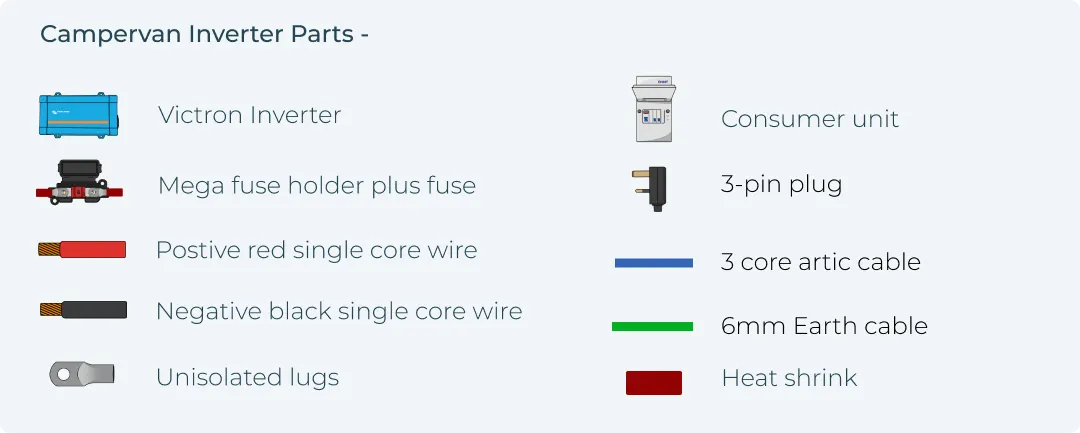
To Install an inverter in a campervan, you will need the following parts, although the exact list can vary depending on the wider electrical setup, including whether the van also uses shore power or a solar system, and your overall campervan electrical system design.
- Victron Phoenix inverter
- Double pole consumer unit
- 3-pin plug
- 230V Socket(s)
- Red/Black Single Core Wire. Thick cables are essential for high-power inverters to prevent overheating.
- 3-core Artic Flex Cable
- Earth Cable
- Midi Fuse Holder with Midi Fuse
- Unisolated Lugs
- A fuse box and bus bars may also be used as supporting distribution components if they are part of the wider install.
NOTE: The wire and fuse sizes are unique for the 375W Victron Inverter. If installing a larger or smaller inverter, you must use different wire thicknesses and fuse sizes - check the inverter manufacturers' product manual, as correct wire sizing and cable sizing depend on inverter load and cable run length.
How to Wire Inverter to Leisure Battery
To generate 230V power, we first need to connect the inverter to the van’s 12V DC system. A clear campervan 12V wiring diagram is invaluable here to understand how this links into the wider setup. vFollow the steps below,
Connecting the inverter to the battery system -
- Securely fasten the inverter to a solid surface using the eyelets provided. The inverter should be mounted close to the leisure battery to minimize voltage drop.
- If not already, Switch the inverter to the off position.
- Run the negative wire from the negative terminal on the inverter to the negative busbar/battery terminal using the unisolated lugs provided.
- Run the positive cable from the positive terminal on the inverter to the positive busbar/battery terminal using the unisolated lugs provided via the midi/mega fuse holder, which helps protect against short circuits.
- Securely ground the inverter to earth.

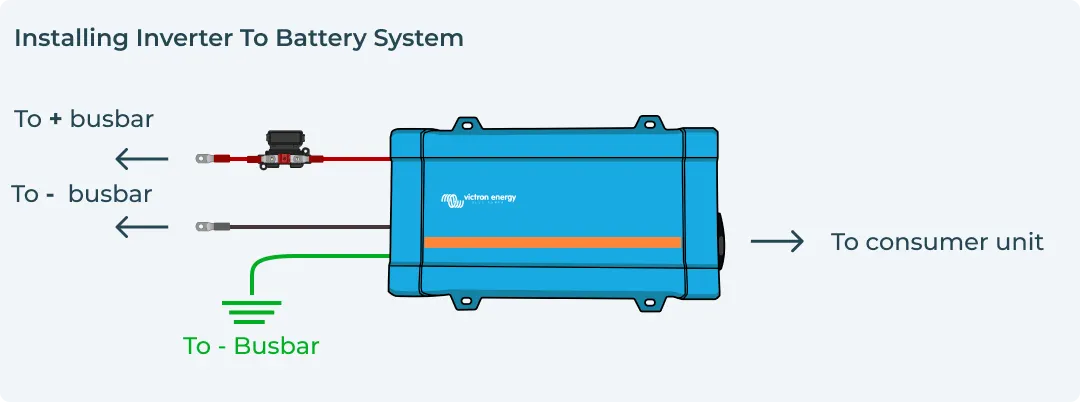
The input of your inverter and battery is now connected. Keeping this run as short as practical helps reduce voltage drop. Pairing this with a correctly installed leisure battery setup using busbars or fuse holders and, where needed, a DC to DC charger wiring layout helps keep the whole system safe and efficient. Next, you will connect the inverter output to the consumer unit.
An inverter system kit can simplify your entire wiring setup and ensure all components integrate seamlessly.
How to Wire Inverter to Consumer Unit
To safely use 230V appliances via a 3-pin socket, it is required that a double pole consumer unit is installed between your inverter and your AC loads or appliance circuit. The combination of RCD and MCB fuses within the consumer unit is there to protect human life and the circuit, helping make AC power in a campervan safer to distribute through sockets.
- RCD: An RCD, or residual current device, is a life-saving device that is designed to prevent you from getting a fatal electric shock if you touch a live wire.
- MCB: An MCB or miniature circuit breaker are automatic protection devices in the consumer unit that switch off a circuit if they detect a fault. You can reset MCBs if they are tripped.
These inverter-powered socket circuits are part of the van’s campervan electrical system and should be kept separate from the low-voltage side through clear campervan wiring planning.
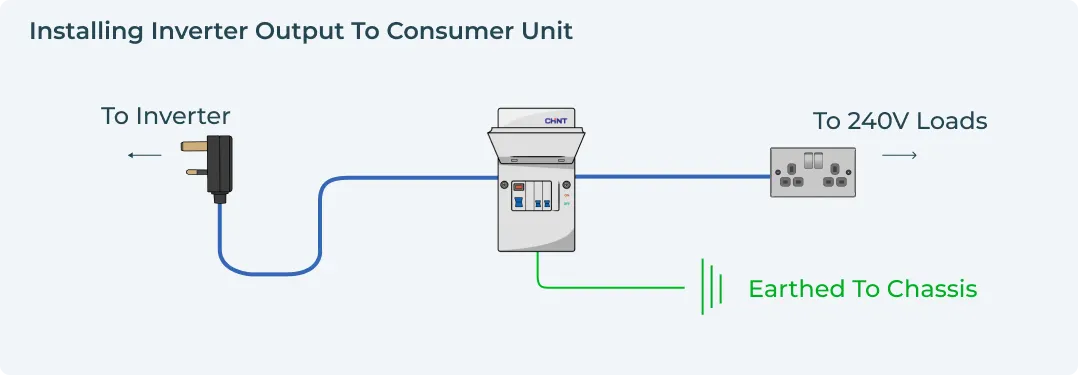
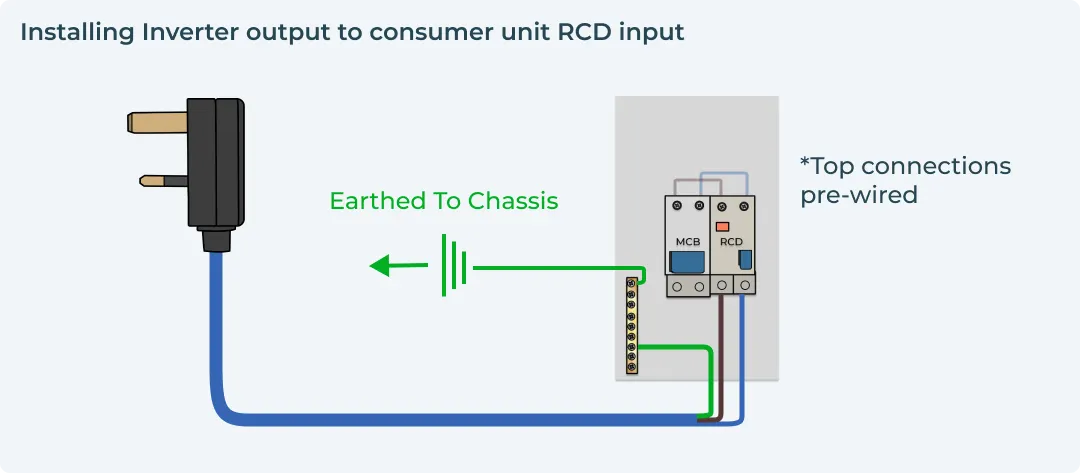
Installing Inverter Output to Consumer Unit RCD Input
Install the inverter output to the consumer unit,
- Ensure the consumer unit has been tripped to introduce a break in the circuit.
- Strip one end of the 2.5mm 3-core wire so that each wire is exposed (live, neutral & earth) and connects it to the 3-pin plug. Ensure each wire is connected to the correct terminal in the 3-pin plug.
- Run the wire with the plug attached from the inverter socket to the consumer unit, adding some extra wire before cutting; this cable run carries inverter AC from the plug to the consumer unit.
- Strip the other end of the 2.5mm 3-core wire, so it is ready for installation within the consumer unit.
- Connect the green and yellow earth wire to the Earth connection within the consumer unit.
- Connect the blue neutral wire to the neutral connection on the RCD.
- Connect the brown live wire to the live connection on the RCD.
- Earth the consumer unit by running an earth wire from the consumer unit to the vehicle chassis.
If the van also has a shore power inlet, that input must be wired and protected separately from the inverter feed.
Any neutral earth bond arrangement must match the inverter manufacturer’s instructions so the RCD can operate correctly.
Installing Consumer Unit MCB(s) to Output Socket
Next, we need to connect the consumer unit to the 230V plug sockets to create a fused circuit.
- Ensure all sockets are turned off, and all 230V appliances are removed.
- Measure the distance between the sockets and the consumer unit, cutting the wire to size.
- Strip one end of the 2.5mm 3-core wire ready for installation within the consumer unit.
- Connect the green and yellow earth wire to the Earth connection within the consumer unit.
- Connect the blue neutral wire to the neutral connection within the consumer unit.
- Connect the brown live wire to the live connection on the MCB.
- Strip the other end of the wire and connect it to your double socket. Ensure each wire is connected to the correct terminal.
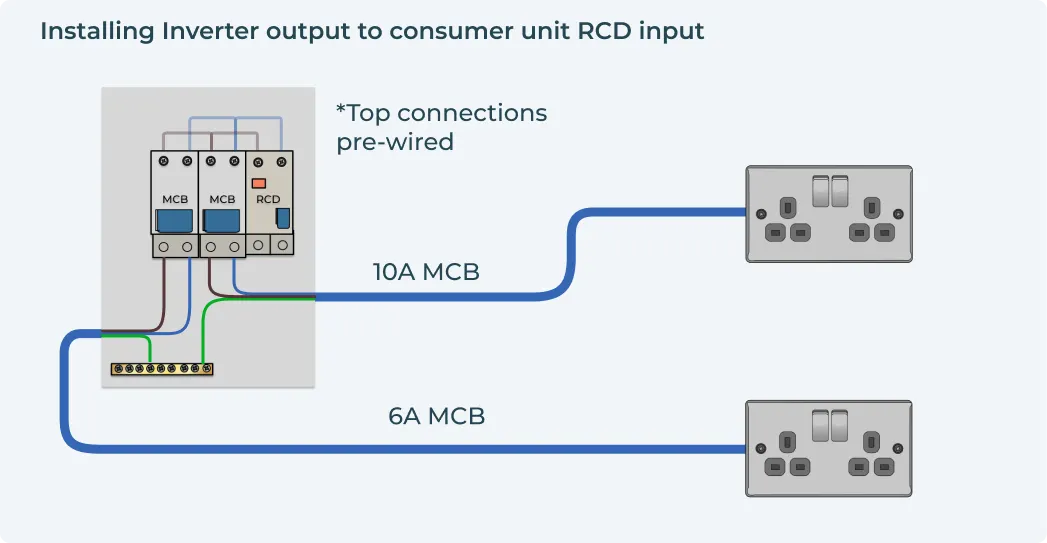
Top Tip
Depending on which consumer unit you opted for you will have either one or two MCB's.
We recommend the 10Amp MCB being connected to a double socket and the 6Amp MCB being connected to a single socket.
Campervan Inverter Final Check
You have connected the inverter input to the battery side and the inverter output to the consumer unit for AC power distribution.
Double-check that you have wired your inverter to match the wiring diagram below.
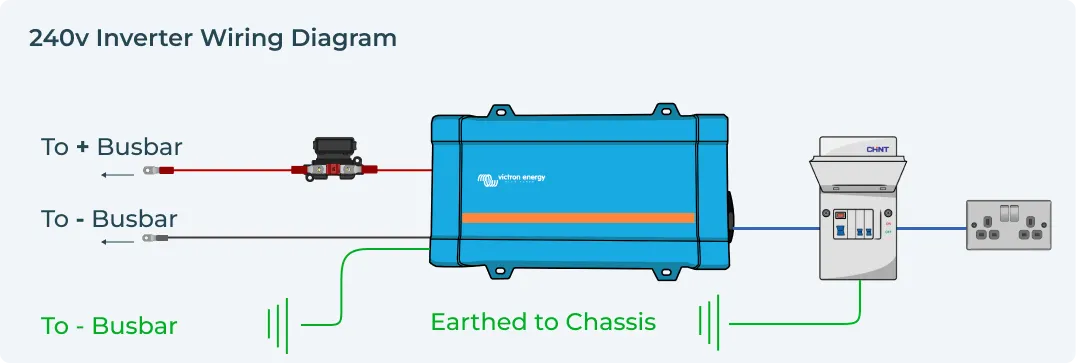
This final wiring diagram check is especially useful in a larger van conversion where multiple power sources may exist, especially if you’re following a detailed Victron inverter installation guide.
Now it is time to check your inverter is wired correctly and working, Testing with a small load is recommended after installation to check system functionality:
- Switch the Consumer Unit on. This will complete the circuit between Leisure Battery and 230V Sockets
- Turn the inverter on - a solid green LED will illuminate on the inverter
- Connect a light to your 230V socket, and turn it on - the light will shine.
Congratulations, you have successfully installed and wired your campervan Inverter and are ready to hit the road!
If your inverter system is not working, follow these steps again. If you are stuck, please get in touch. We are always happy to help.
Buy Campervan Inverter Systems
Are you worried about wire and fuse sizes? Want your Campervan Electrical System to be designed by an expert, with help choosing the right components and wire sizing across the wider setup? Look no further. All our Inverter Systems come with all the wires, fuses, consumer units, lugs and heat shrink you need to install in your campervan...
Many buyers later pair these kits with solar power or shore power upgrades, and many also add a battery charger path from the vehicle while driving, so planning the overall layout early can help. An alternator charging setup lets an alternator feed the leisure bank on the move; in practice, a dc dc charger handles battery charging efficiently for house batteries. Full-time vanlifers often combine alternator charging, shore power, and solar charging for a more complete off-grid setup. In fact, 84% of campervans use split charging systems. Today, lithium batteries are more common than agm batteries, with a longer lifespan and nearly all their usable capacity available. Battery chemistry matters here, because AGM and lithium need different charging profiles to protect performance and lifespan. In a lithium setup, a battery management system helps protect the cells, while a battery monitor makes it easier to track charge status and system performance over the long run. By comparison, AGM batteries are best kept above 50% state of charge, so 100Ah of lithium can be roughly similar to 200Ah of AGM. Lithium does come with a higher upfront cost, but it can make more sense than AGM in the long run because of usable capacity and lifespan. A solar panel feeds a solar charge controller, and an mppt charge controller usually gives better solar charging efficiency than PWM despite the extra cost; panel wiring changes the total voltage, so the chosen charge controller must safely handle the system, especially with high voltage strings. Our complete Victron campervan electrical systems and Victron solar kits for campervans make it easier to design a matched system from day one. Plan 12V loads such as a water pump into the wider electrical layout as well, rather than the inverter circuit.
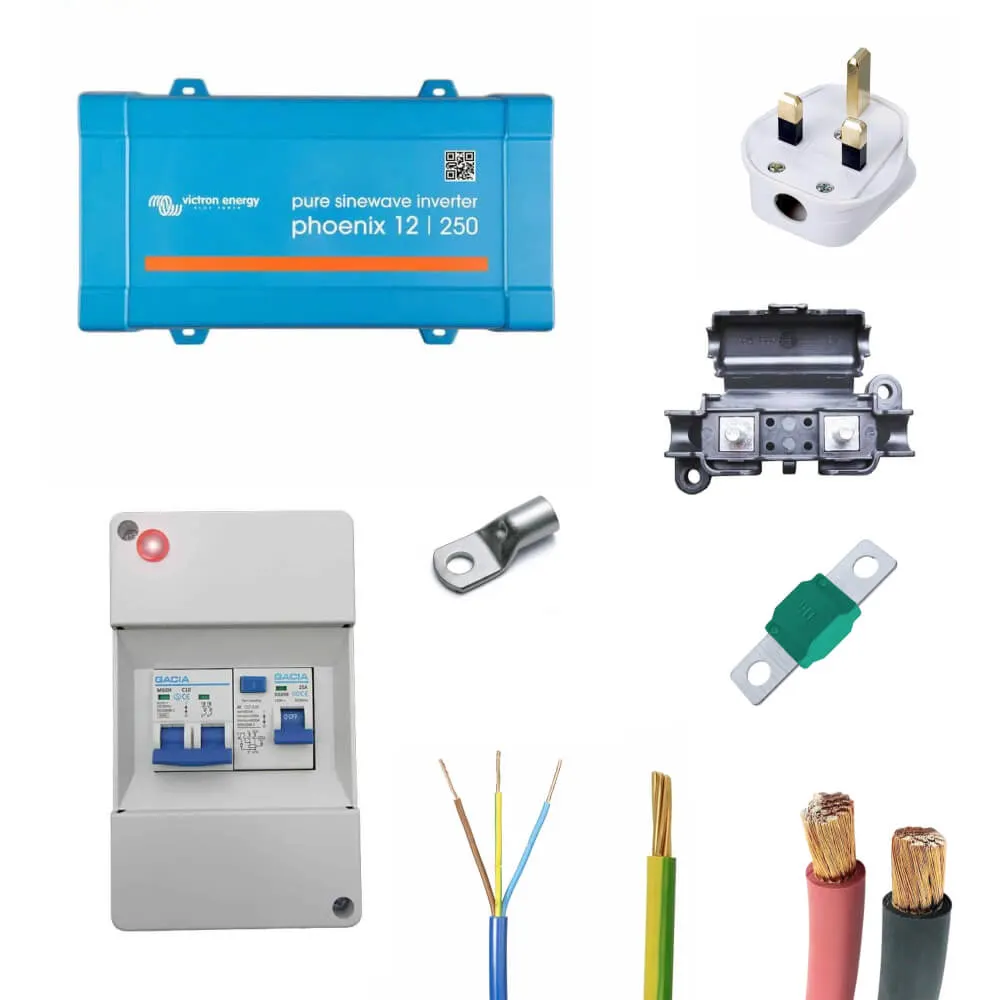
250VA Victron Phoenix Inverter System
£209.99
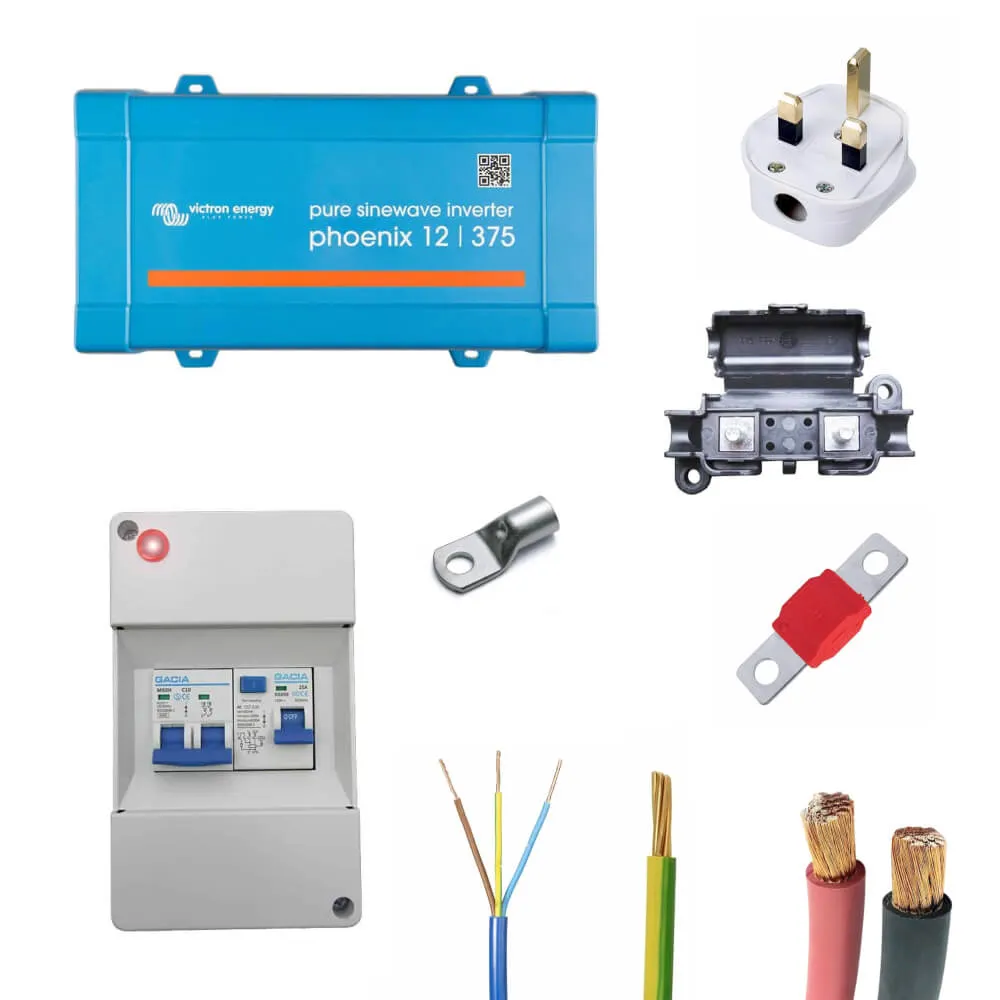
375VA Victron Phoenix Inverter System
£229.99
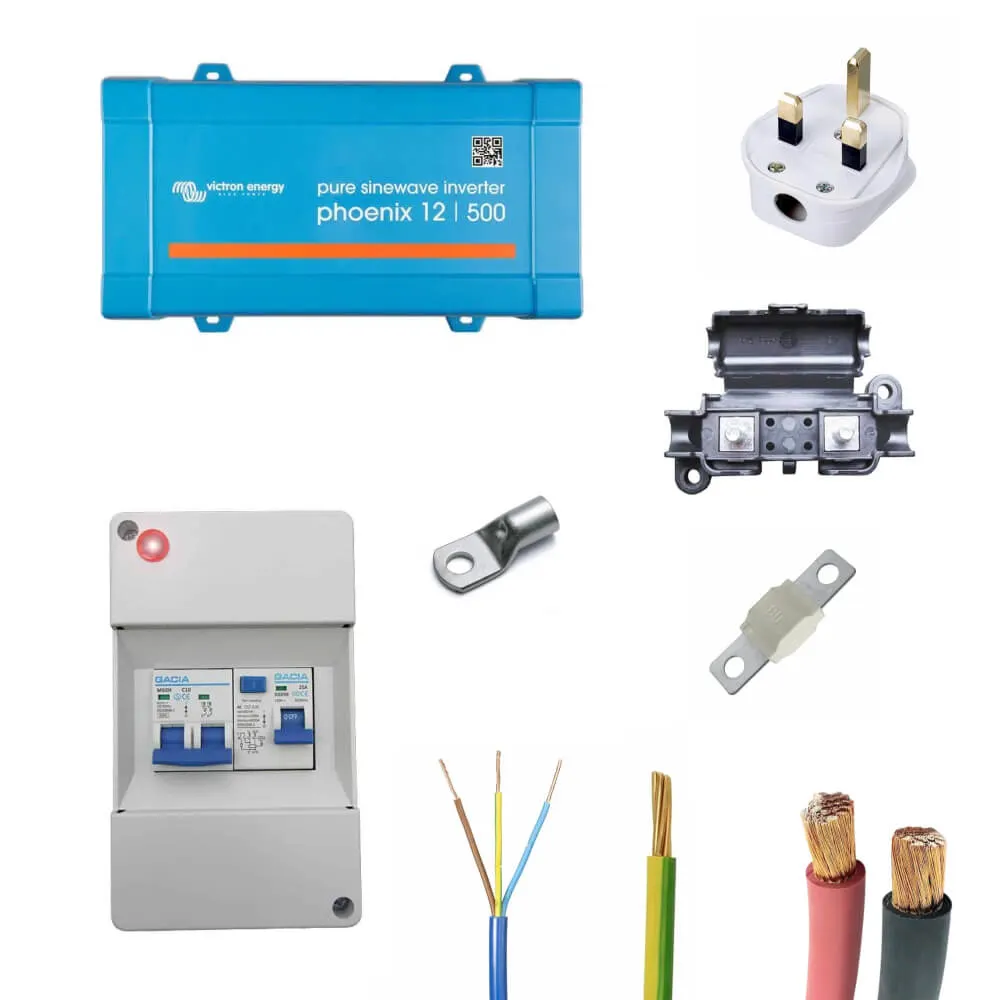
500VA Victron Phoenix Inverter System
£279.99
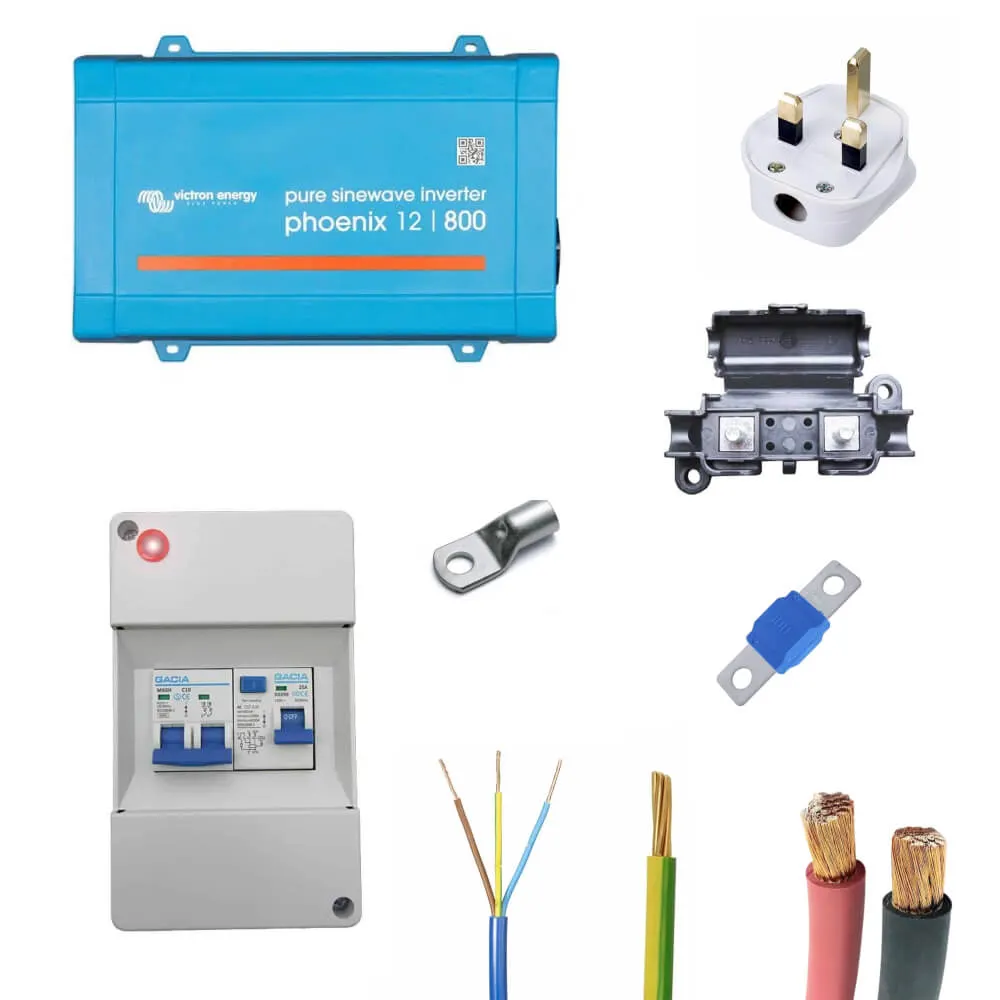
800VA Victron Phoenix Inverter System
£429.99
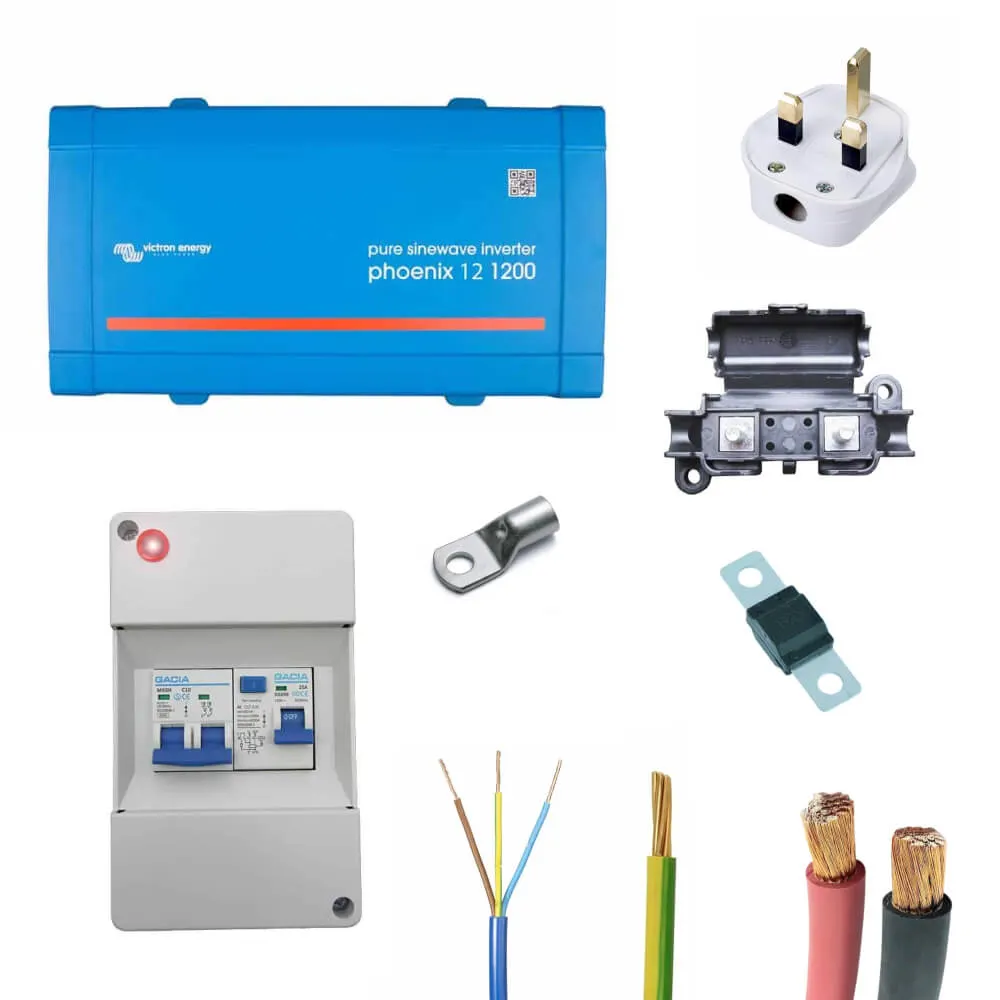
1200VA Victron Phoenix Inverter System
£509.99
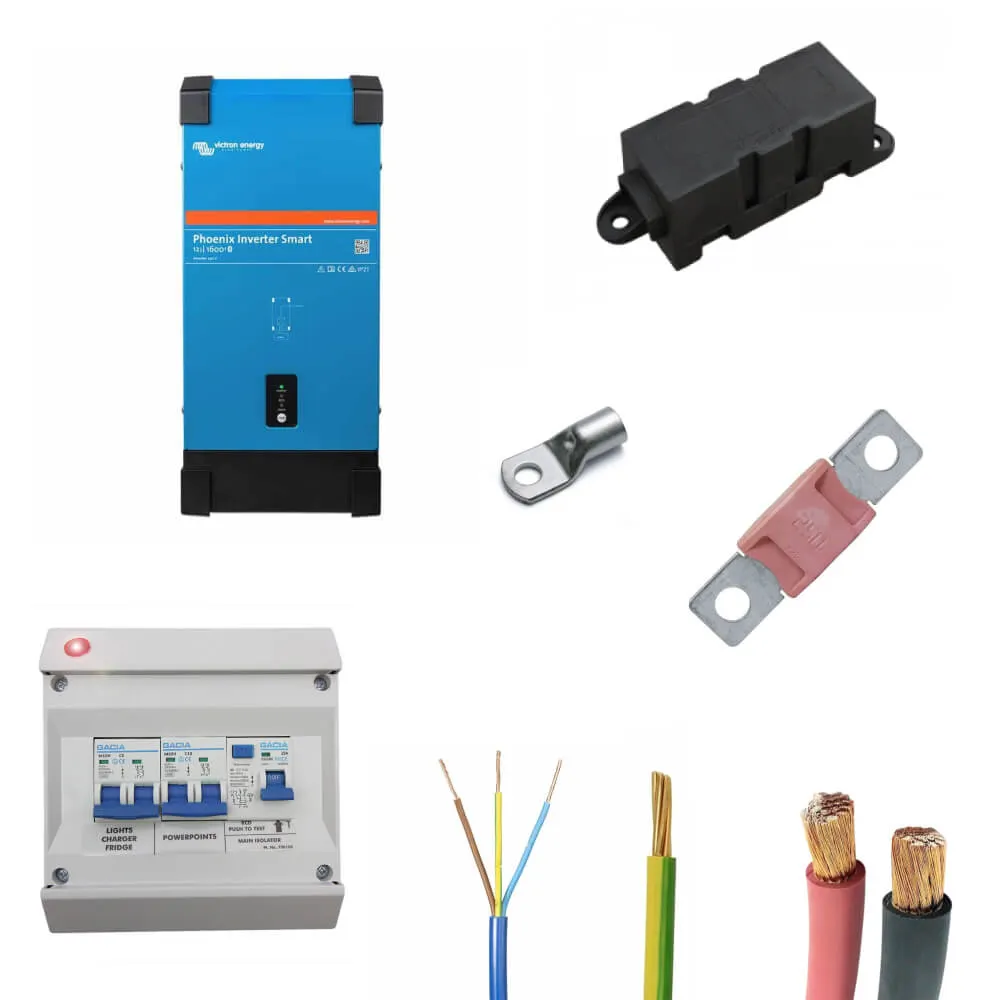
1600VA Victron Phoenix Smart Inverter System