
Inverter Installation Overview
Are you trying to work out how you to install a Victron campervan inverter? Can't figure out your blacks from your reds? Fear not! We've got you covered with this step by step guide on how to install a Victron inverter. Proper Victron inverter setup starts with choosing the right location in a well ventilated area away from direct sunlight.
Please note, this guide is for the basic setup of a Victron Phoenix Pure Sine Wave Smart Inverter ( > 2000VA)
If you're using a smaller inverter, try this installation guide instead.
In this blog, we will cover:
- What is an inverter?
- What You Need to Install a Campervan Inverter
- Installing The Inverter Input to the Battery System
- Installing the Inverter Output to the Consumer Unit
- Campervan Inverter Final Check
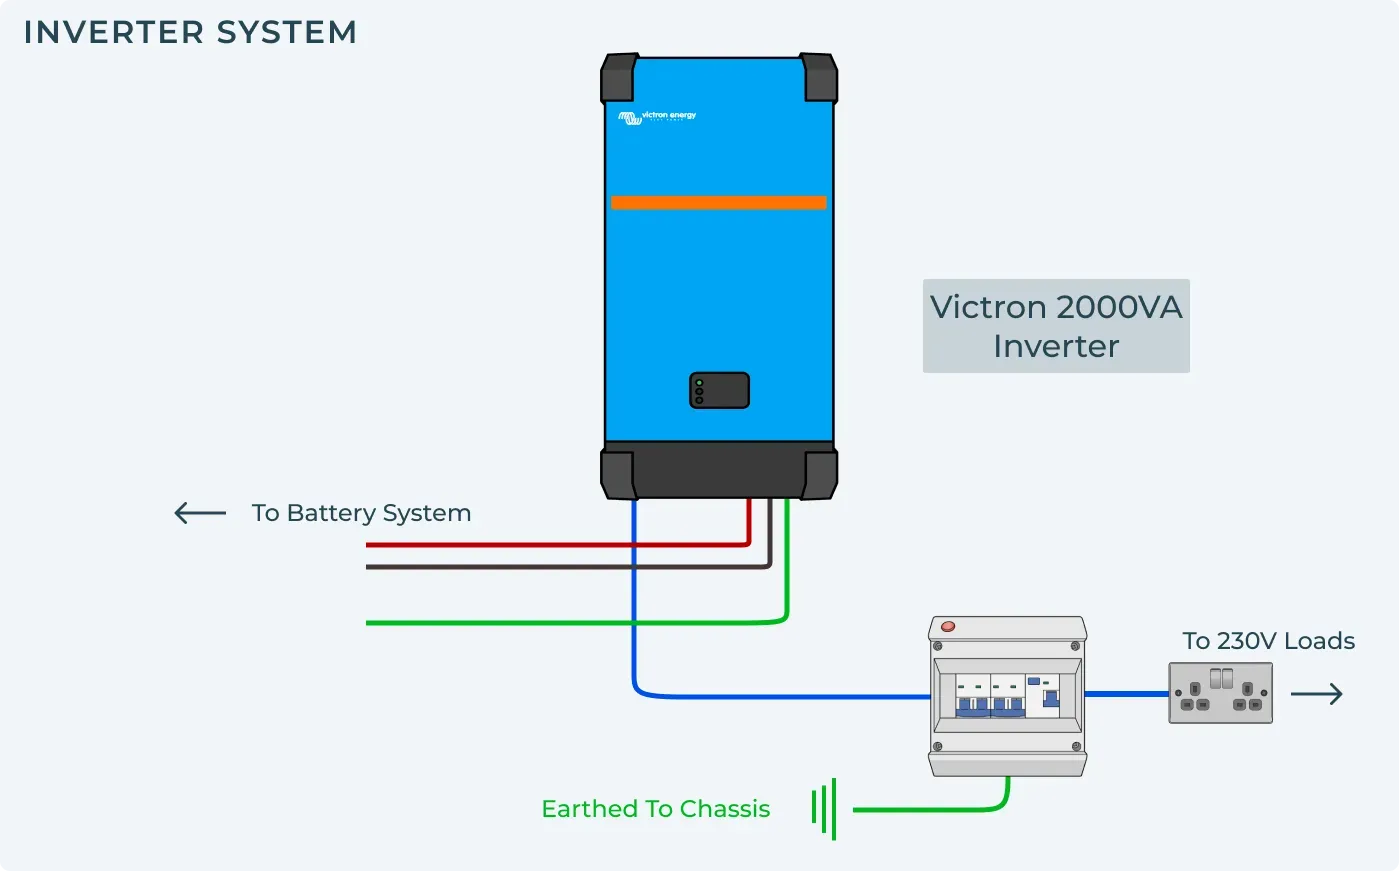
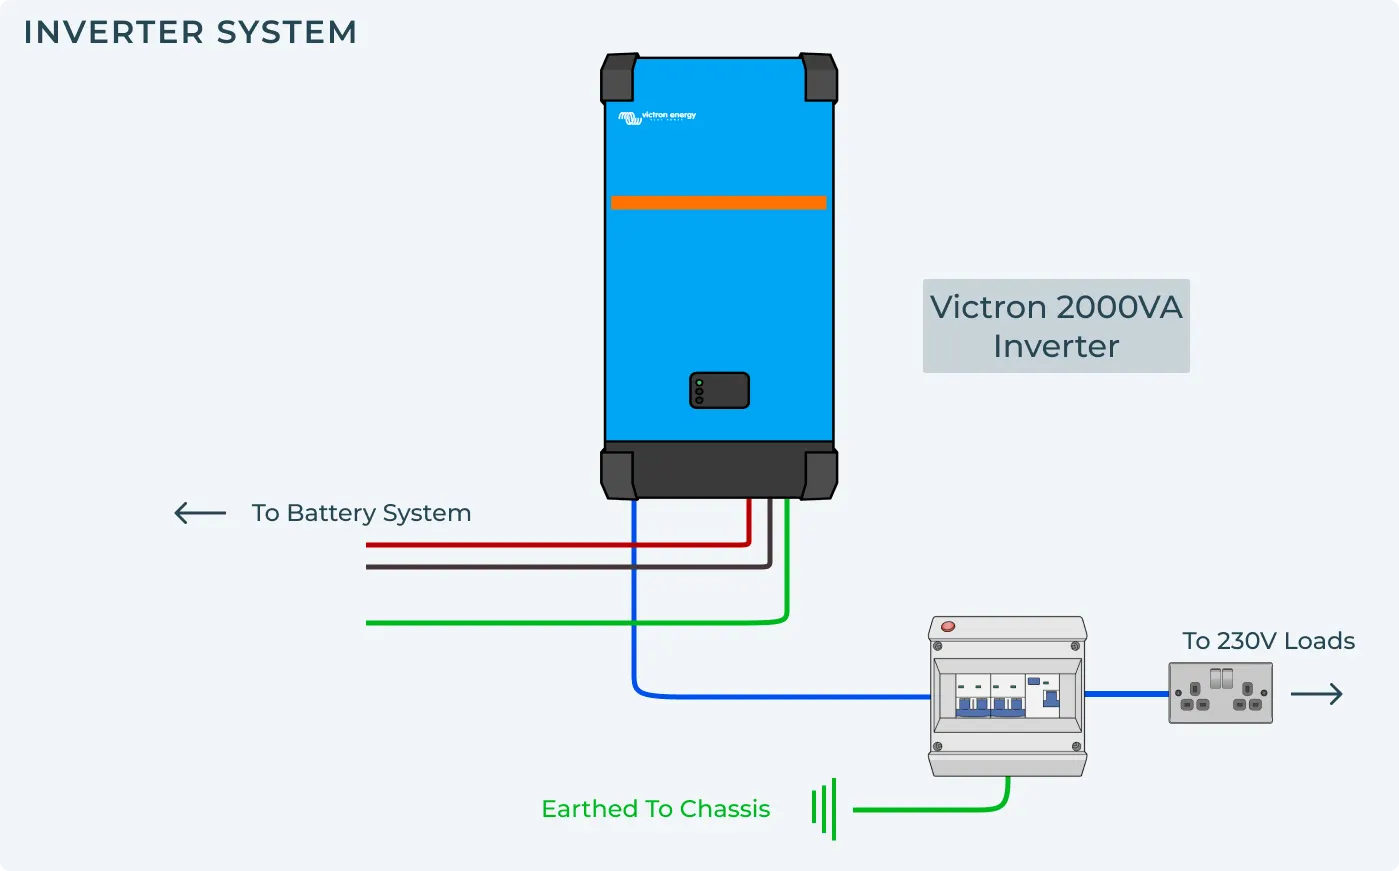
Ok let's get started. By the end of this blog you should have completed your Victron inverter install and it will look something like this,
What Is An Inverter?
Campervan Inverters: The real life explaination
Firstly, for some adventurers, holidays mean sleeping under the stars on an old piece of foam. For others, hairdryers are a necessity. If you fall into the latter category and want to power your hairdryer, laptop (or anything else) while exploring beautiful places in your campervan, then you'll need an inverter as part of a well-planned introduction to campervan electrics covering batteries, solar and charging; if you are using solar, that wider Victron system also needs solar panels and a charge controller to keep the batteries charged properly, and a fuller solar power setup may also include metering equipment to measure generated electricity.
Campervan Inverters: The technical explanation
An inverter is essentially a piece of electrical kit that transforms 12V dc input from your leisure batteries into a wonderfully usable 230V ac output, allowing you to provide power to a 3-pin socket, just like at home; if you’re curious about the detail, our guide on how a campervan inverter works dives deeper into the tech.
As great as inverters are, they can be tricky to install, so this guide will go through everything you need to know about how to install a Victron Inverter, helping your appliances operate from battery power. So, say goodbye to wet hair and hello to freshly ground coffee and a fully charged laptop.
What size of inverter do I need?
If you haven't decided what size of inverter you need, we recommend reading our inverter sizing guide first. Use it to determine the inverter size from the total load you want to run, or plug your appliances into our campervan inverter size calculator for a quick answer. If you want to visualise your full system, we also have a super handy calculator so you can tick the boxes of what you want to use when you're living 'la vida loca' in your campervan, for example checking which appliances you'll run at the same time.
Build your own Electrical system
Everybody's campervan conversion is different, so choosing from the best campervan electrical systems for different lifestyles can help you match your setup to how you actually travel. There's no reason your Victron campervan electrical system shouldn't be tailored too.
Use our free Campervan Electrics System Builder to power your van life adventures.
What You Need to Install An Inverter
Campervan Inverter Parts List
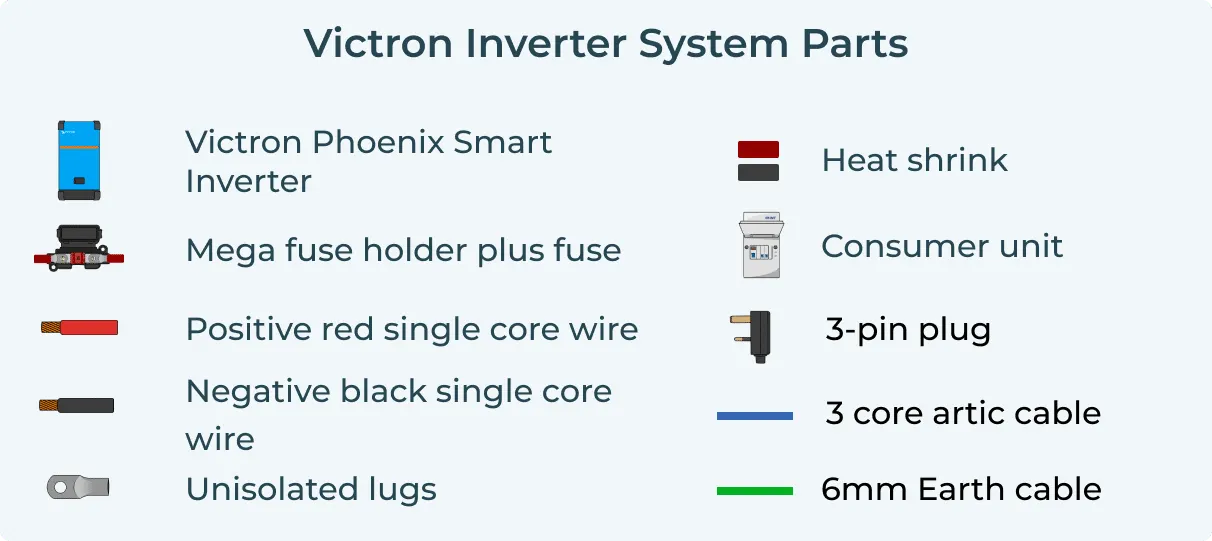
To install a Victron inverter in a campervan, you will need the following equipment as the core components for the install, alongside related system hardware like the charger, so it’s worth reviewing a DIY campervan electrical system checklist before you start shopping:
- 2000VA Victron Phoenix inverter
- Double pole consumer unit
- 3-pin plug
- 230V Socket(s)
- Red/Black Single Core Wire
- 3-core Arctic Flex Cable
- Earth Cable
- Midi Fuse Holder with Midi Fuse
- Unisolated Lugs
Sourcing Victron Energy Inverter Parts
If sourcing all of these parts doesn't sound like your idea of a good time, we've already done the hard part with careful planning so the parts are configured correctly before installation, and you can buy a Victron campervan electrical system with everything you need to connect it for different types of campervan and off grid systems right here:
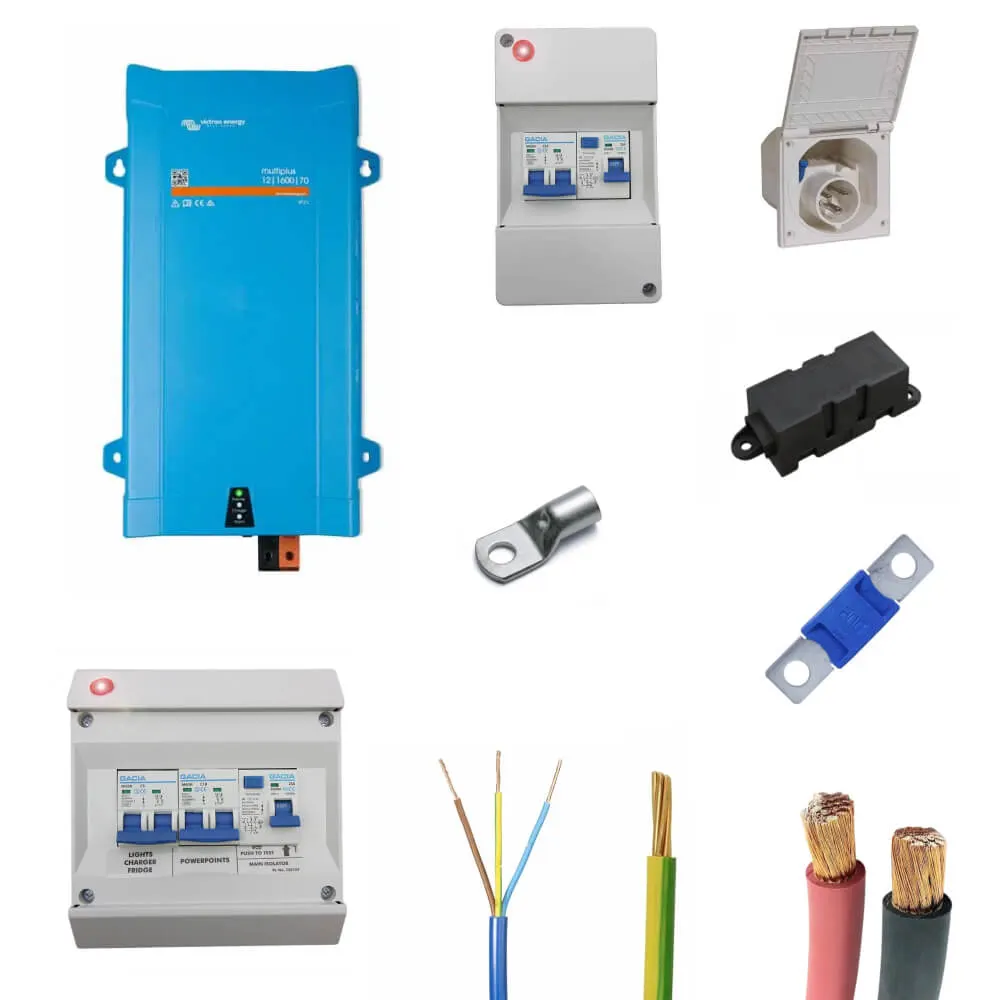
1600VA Victron Multiplus inverter/charger system
£1,099.99
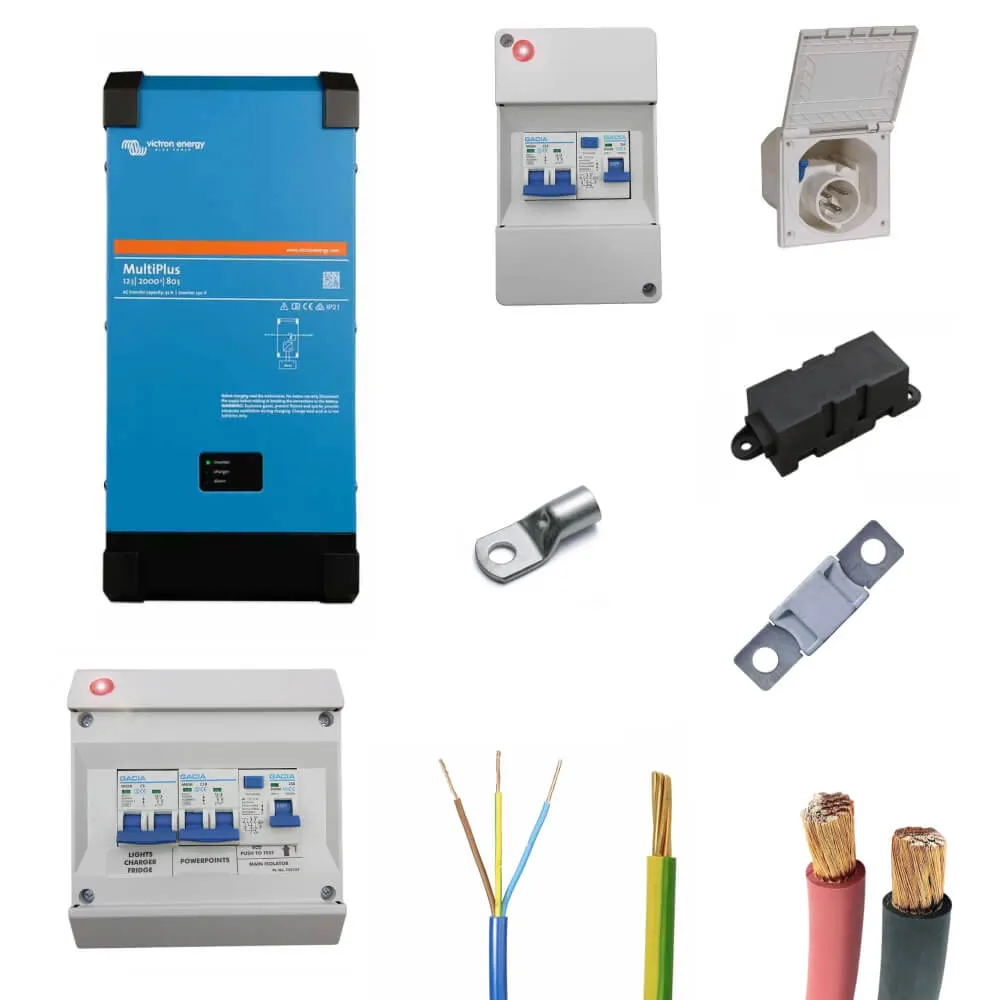
2000VA Victron Multiplus System
£1,399.99
Note that our kits do not have 3-pin sockets for using your 230V appliances. This is because everyone has their own tastes, and your sockets will have to match the aesthetic of your van. Luckily, 3-pin sockets can be picked up at any local hardware shop
Safety Warning
Working with 230V electricity is dangerous and can kill. We always recommend using a qualified electrician for any grid connection or other 230V installation work where regulations apply, and to ensure it is signed off before use.
How to Install a Victron Inverter
The correct installation location should be dry well-ventilated and away from corrosive gases.
Connecting the Inverter to your Battery Bank
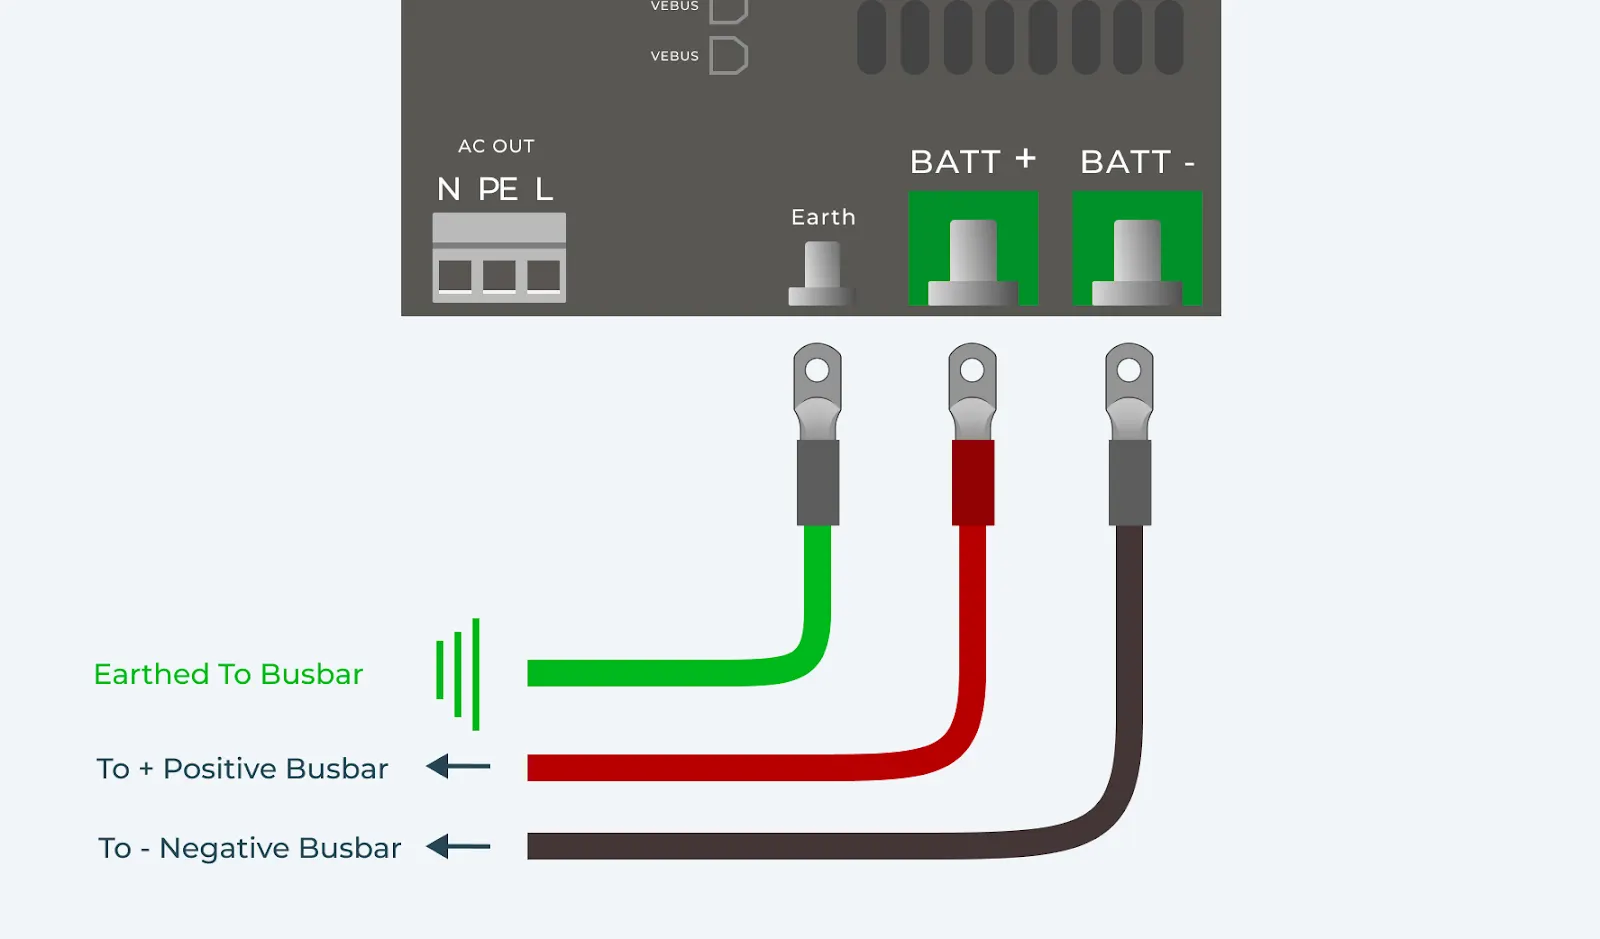
These are the main DC battery bank connections for the inverter, which will tie into your broader campervan 12V wiring diagrams and fuse layout. DC connections must be made with appropriate wire sizes according to the inverter manual guidelines. Select the correct battery chemistry in the inverter settings before first power-up. Battery parameters, with any charge voltages that can be adjusted, should then be fine-tuned to suit the battery for best lifespan and performance. Proper cable sizing and shortest possible DC cabling can help avoid voltage drop issues.
- Run the negative wire from the negative busbar to the negative terminal on the inverter using the unisolated lugs provided.
- Run the positive wire from the positive busbar to the positive terminal on the inverter using the unisolated lugs provided via the midi fuse. Correct fuse and cable sizing is essential for safe battery charging and system protection.
- Run the negative wire from the earth terminal on the inverter to the negative busbar to ensure the component is grounded correctly, confirm voltage is correct before powering up, especially with lithium batteries, and check the DC input low shutdown voltage is set appropriately to protect the battery from over-discharge using the value stored in your chosen setup where needed.
Turn the batteries on before powering up the inverter or any monitoring accessories.
Connecting the Inverter to your Consumer Unit
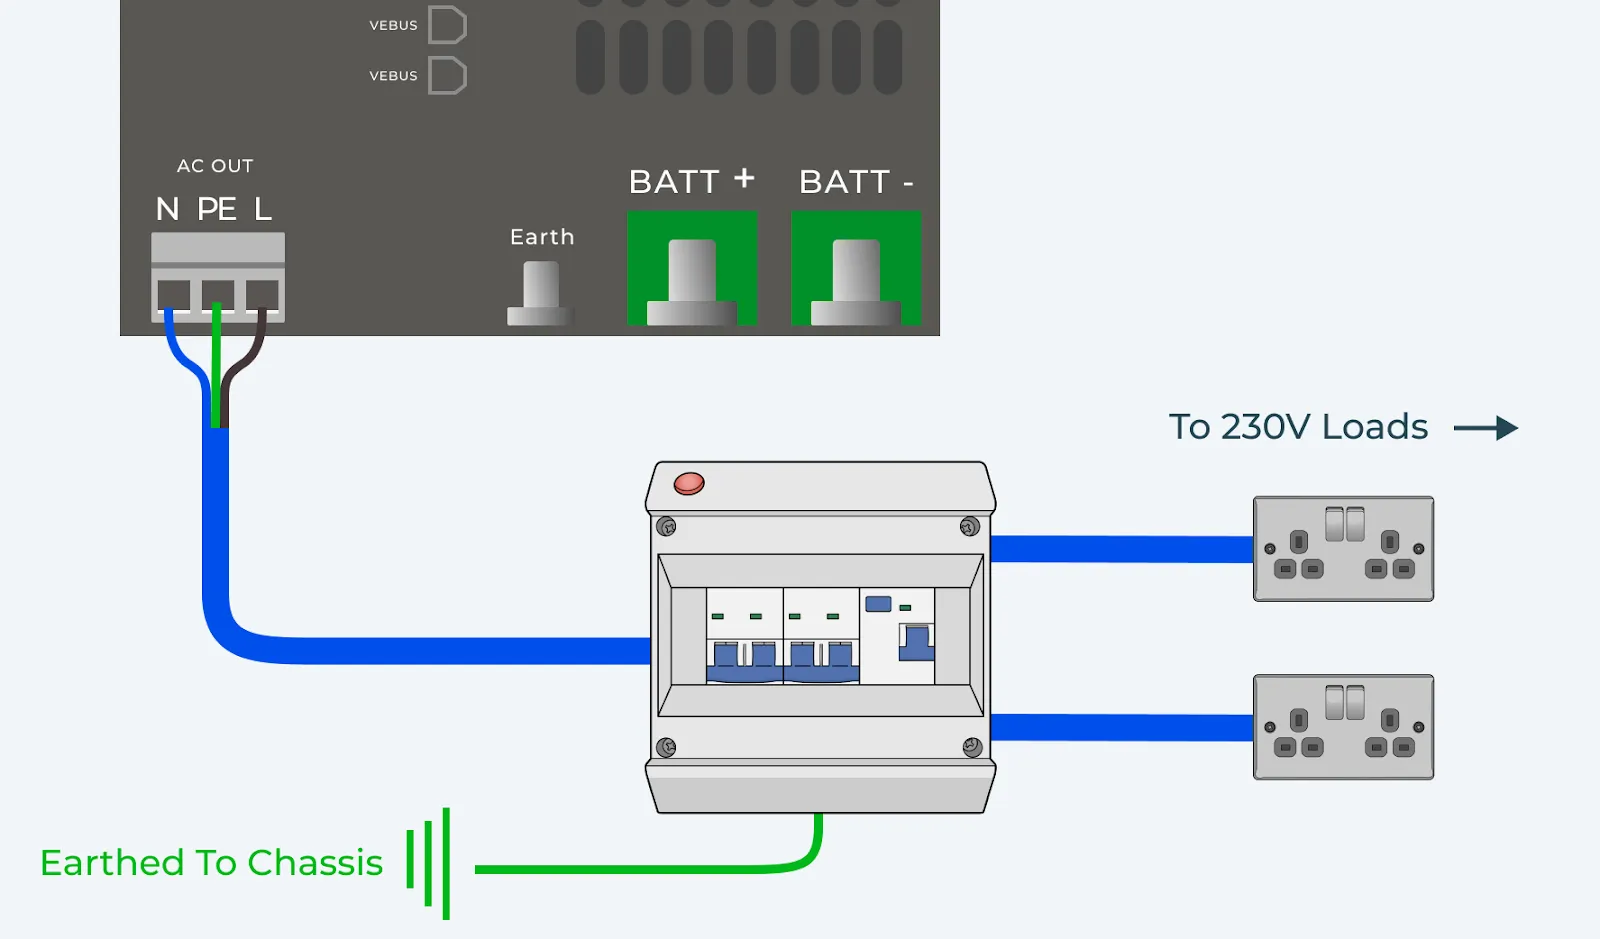
To safely use your shiny new 3-pin socket, you'll have to install a double pole consumer unit in the AC wiring between your inverter and the connected devices using 230V power. This is done in 2 parts:
- Connecting the inverter output to the consumer unit
- Connecting the consumer unit output to the sockets you want to use in your van
This part of the configuration also affects how you can monitor and control the system later.
Connecting the Inverter AC Output to Consumer Unit Input
Furthermore, when you install a Victron Inverter, there are a few things to consider at this stage:
Ensure the inverter is turned off, with the inverter switched off position selected and the correct mode set before you isolate your battery for extra precaution.
Some Victron units can be set up over bluetooth using the victronconnect app during installation.
Strip one end of the wire so that each wire is exposed (live, neutral & earth) and connect it to the 3-pin plug
Run the wire with the plug attached from the socket on the inverter to the consumer unit, adding some extra wire before cutting.
Where applicable, use a computer and usb interface with the correct ethernet cable to configure settings and carry out firmware updates.
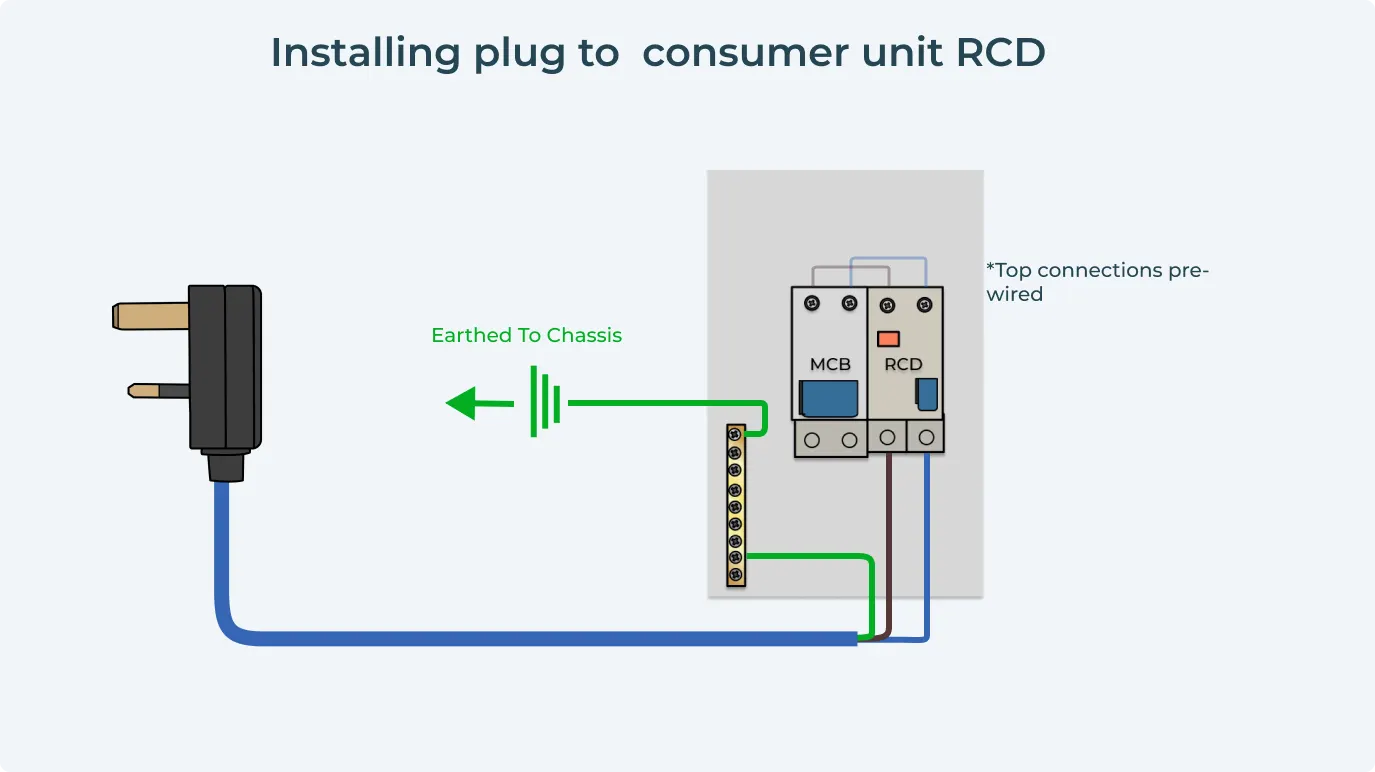
Strip the other end of the wire, so it is ready for installation within the consumer unit
Connect the green and yellow earth wire to the Earth connection within the consumer unit
Connect the blue neutral wire to the neutral connection on the RCD
Connect the brown live wire to the live connection on the RCD
Earth the consumer unit by running an earth wire from the consumer unit to the vehicle chassis
For a simple inverter setup, the default settings are usually fine, and any user settings can be changed later if needed.
Connecting the Consumer Unit to 230V Sockets
- Ensure all sockets are turned off, and all 230V appliances are removed. Complete this AC output wiring before applying any load.
- Measure the distance between the sockets and the consumer unit cutting the wire to size
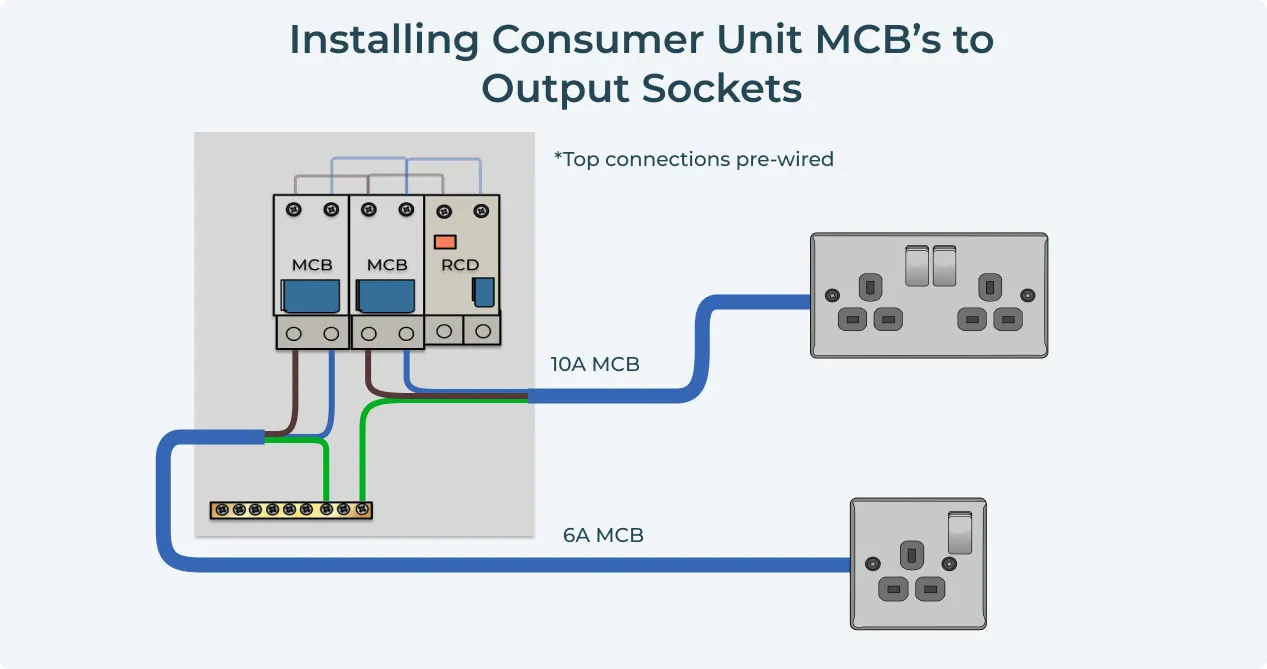
- Strip one end of the 2.5mm 3-core wire ready for installation within the consumer unit
- Connect the green and yellow earth wire to the Earth connection within the consumer unit
- Connect the blue neutral wire to the neutral connection within the consumer unit
- Connect the brown live wire to the live connection on the MCB
- Strip the other end of the wire and connect it to your double socket. Ensure each wire is connected to the correct terminal and the socket wiring is configured correctly for the intended appliances.
Top Tip
Depending on which consumer unit you opted for, you will have either one or two MCB's.
We recommend the 10Amp MCB being connected to a double socket and the 6Amp MCB being connected to a single socket.
Testing Your New Victron Inverter
Conduct Final Checks
You have very nearly installed a Victron Inverter in your Campervan. Congrats! If you’re planning to use campsite hook-ups as well as off-grid power, now is a good time to think about how your inverter will integrate into a campsite hook up campervan electrical system, and whether you’d benefit from a free campervan electric consultation before you button everything up.
Daily monitoring of system performance can be facilitated using a GX device or VictronConnect app.
Once everything is connected, conduct your final checks of your Victron Inverter, review key settings, and confirm the unit will operate as expected:
- Switch the Consumer Unit on. This will complete the circuit between Leisure Battery and 230V Sockets
- Turn the Inverter on – a solid green LED will illuminate on the inverter. Once powered on, you can use the app to search for compatible units and monitor status.
- Connect a light to your 230V socket, and turn it on - if it's all been done correctly, the light should be on. If your model allows it, also do a manual check of battery voltage and any shutdown threshold.
- Shout "Eureka!" and jump up and down. Congratulations - you have installed your Victron Energy Inverter.
Buying a Victron Inverter
Now that you know all the ins and outs of installing an inverter, you can buy with absolute confidence.
Of course, here at Vunked, we don't just sell the best inverters for your van, but they come complete with everything you need for your campervan electrics installation and access to our super-helpful installation guides.
If you're still stuck with anything campervan inverter-related, as always, give one of our team a ring and let us get you on the right track.
Victron Energy Phoenix Inverter 12V 250VA
£99.00
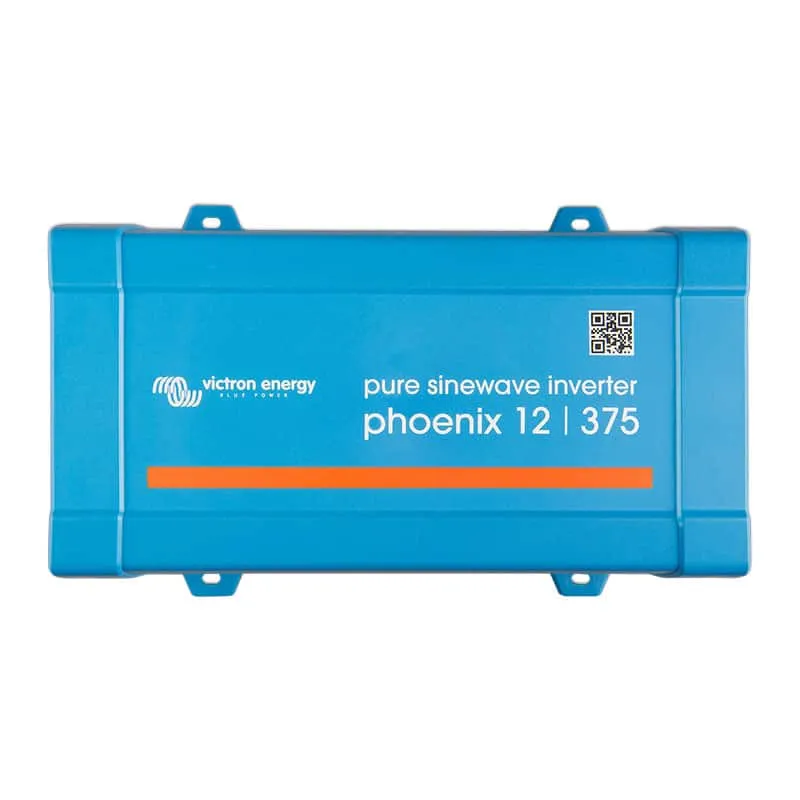
Victron Energy Phoenix Inverter 12V 375VA
£135.49
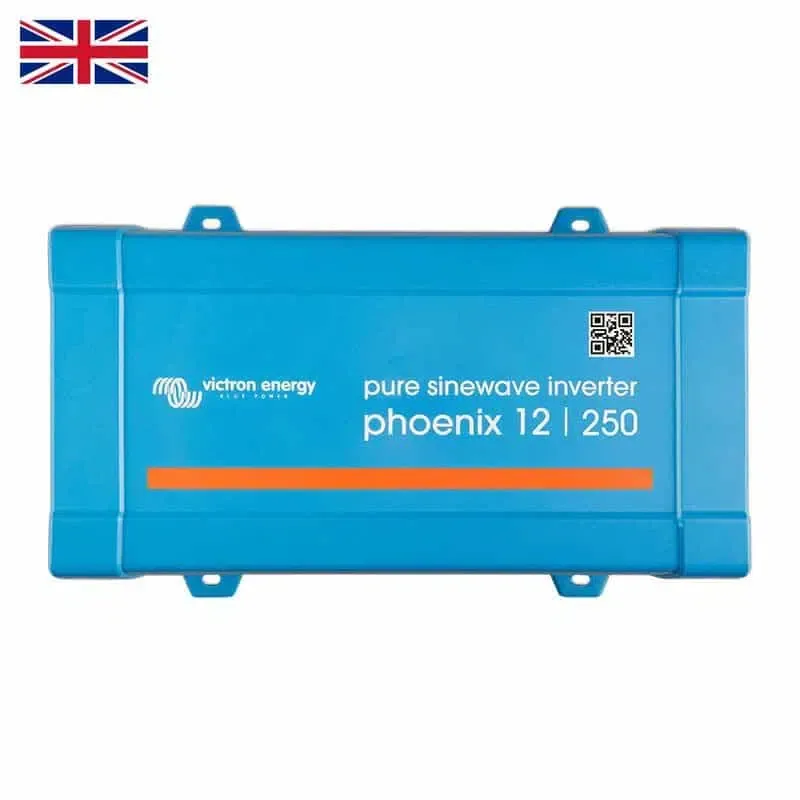
Victron Energy Phoenix Inverter 12V 500VA
£149.00
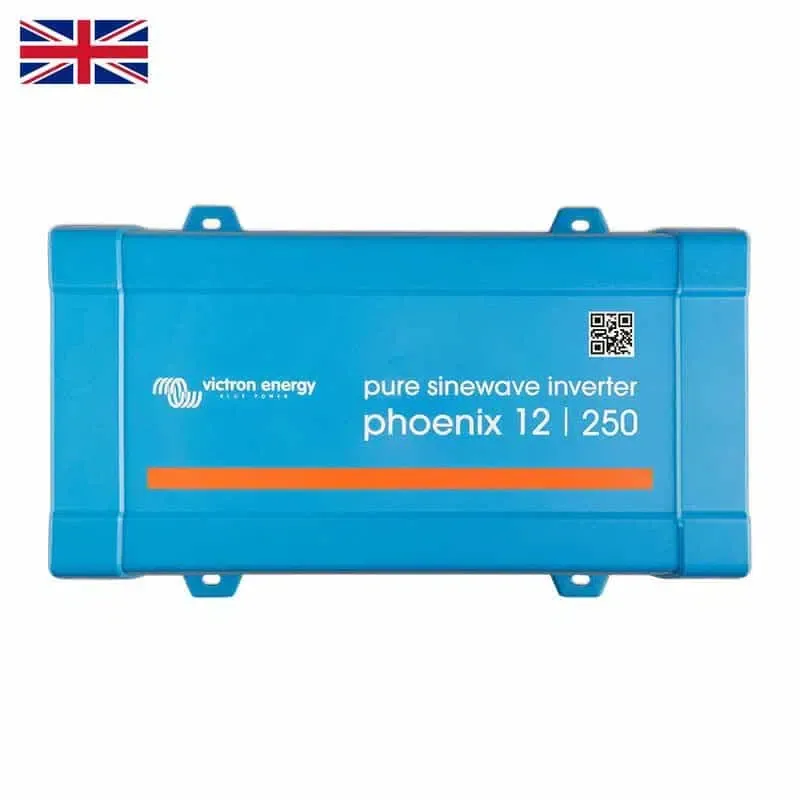
Victron Energy Phoenix Inverter 12V 800VA
£289.99
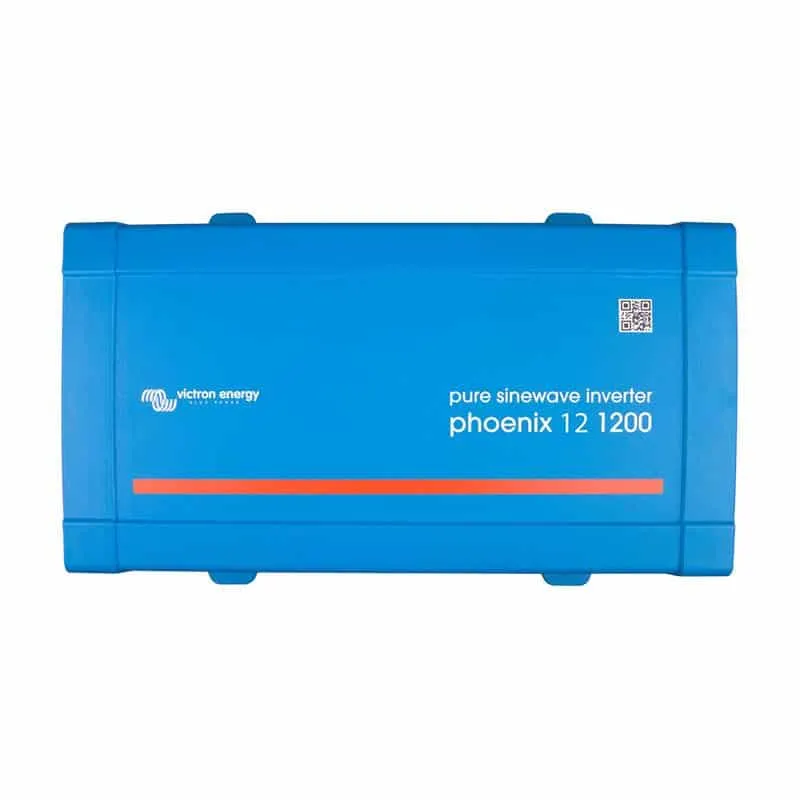
Victron Energy – Phoenix Inverter 12/1200
£379.00
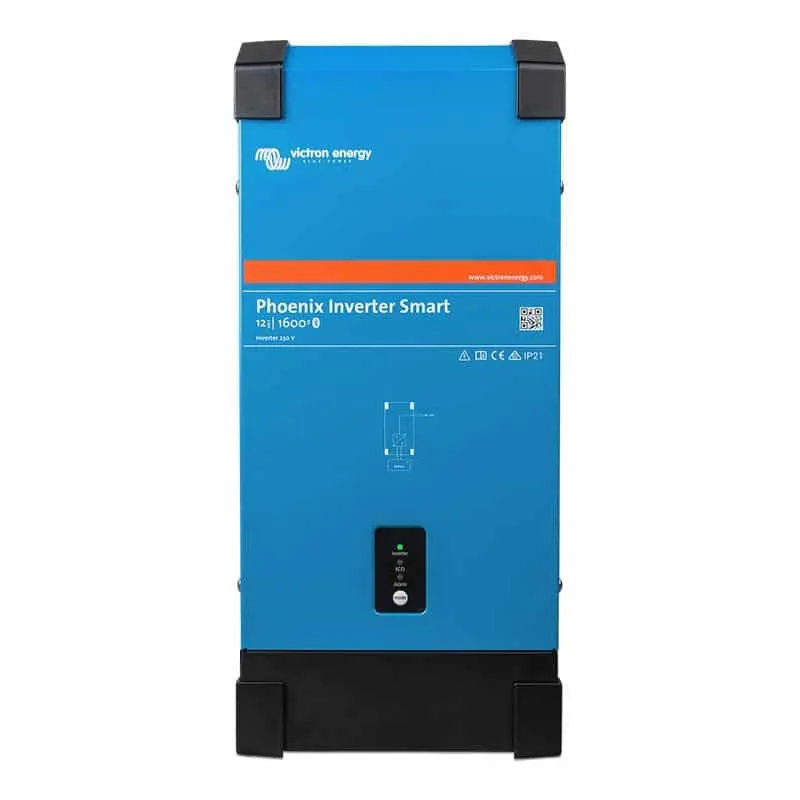
Victron Energy – Phoenix Inverter Smart 12/1600